Mailu

Mailu is a simple yet full-featured mail server as a set of Docker images. It is free software (both as in free beer and as in free speech), open to suggestions and external contributions. The project aims at providing people with an easily setup, easily maintained and full-featured mail server while not shipping proprietary software nor unrelated features often found in popular groupware.
Main features include:
Standard email server, IMAP and IMAP+, SMTP and Submission with auto-configuration profiles for clients
Advanced email features, aliases, domain aliases, custom routing, full-text search of email attachments
Web access, multiple Webmails and administration interface
User features, aliases, auto-reply, auto-forward, fetched accounts, managesieve
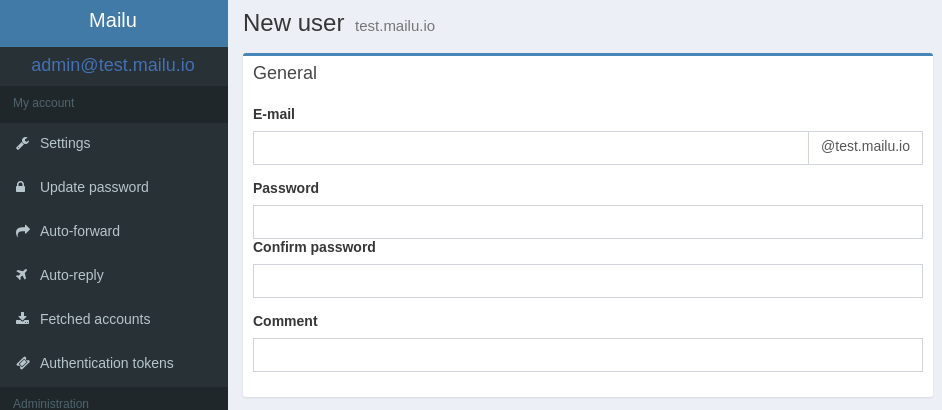
Admin features, global admins, announcements, per-domain delegation, quotas
Security, enforced TLS, DANE, MTA-STS, Letsencrypt!, outgoing DKIM, anti-virus scanner, Snuffleupagus, block malicious attachments
Antispam, auto-learn, greylisting, DMARC and SPF, anti-spoofing
Freedom, all FOSS components, no tracker included
The documentation is written as part of the repository and evolves with it. Make sure that you access the proper version of the documentation, based on the version of Mailu that you are running.
General
Setup
Administration